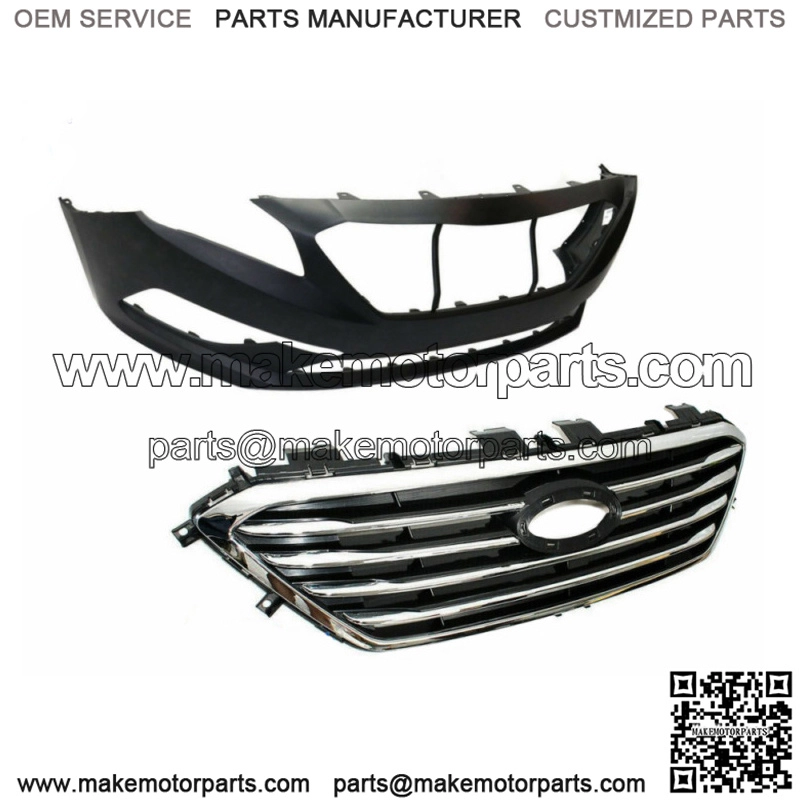
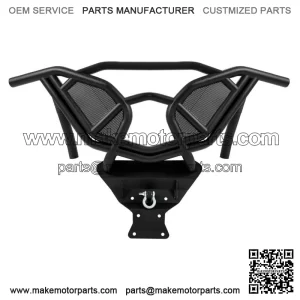
Front Bumper W/o Sensor Hole+Front Grille For Hyundai Sonata SE Standard 2015-17
Product categories
- ATV Parts (5631)
- Bicycle Parts (5)
- Car Parts (6701)
- Farm Machinery Parts (324)
- Go Kart Parts (161)
- Golf Cart Parts (2380)
- Lawn Mower Parts (4466)
- Minibike Parts (329)
- Motorboat Parts (515)
- Motorcycle Parts (8942)
- Other Parts (809)
- Scooter Parts (698)
- Snowmobile Parts (2875)
- Tractor Parts (6565)
- UTV Parts (4270)
Product tags
Front Bumper W/o Sensor Hole+Front Grille For Hyundai Sonata SE Standard 2015-17
Front Bumper W/o Sensor Hole+Front Grille For Hyundai Sonata SE Standard 2015-17
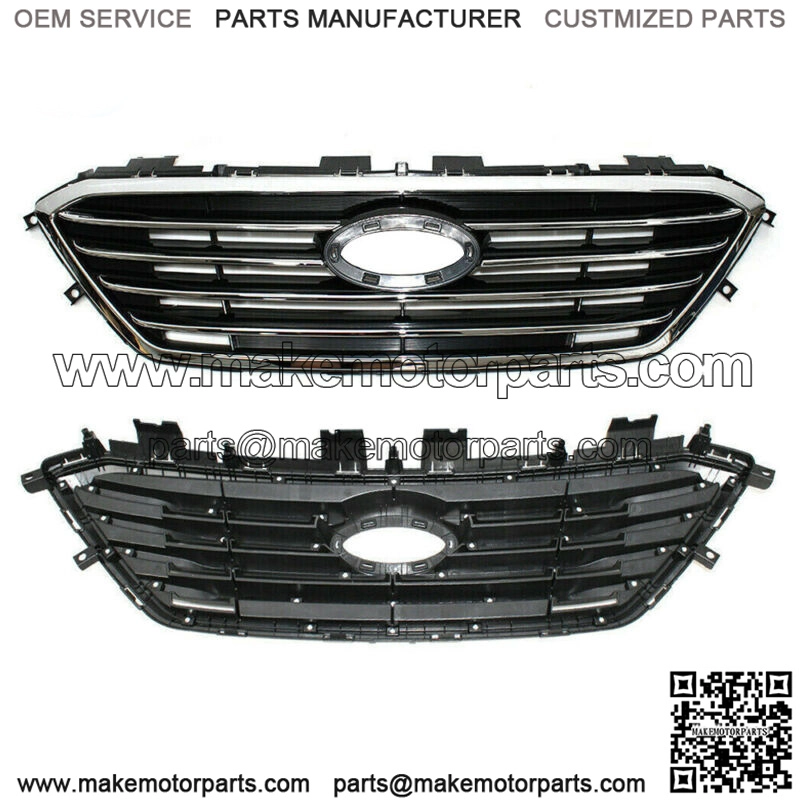
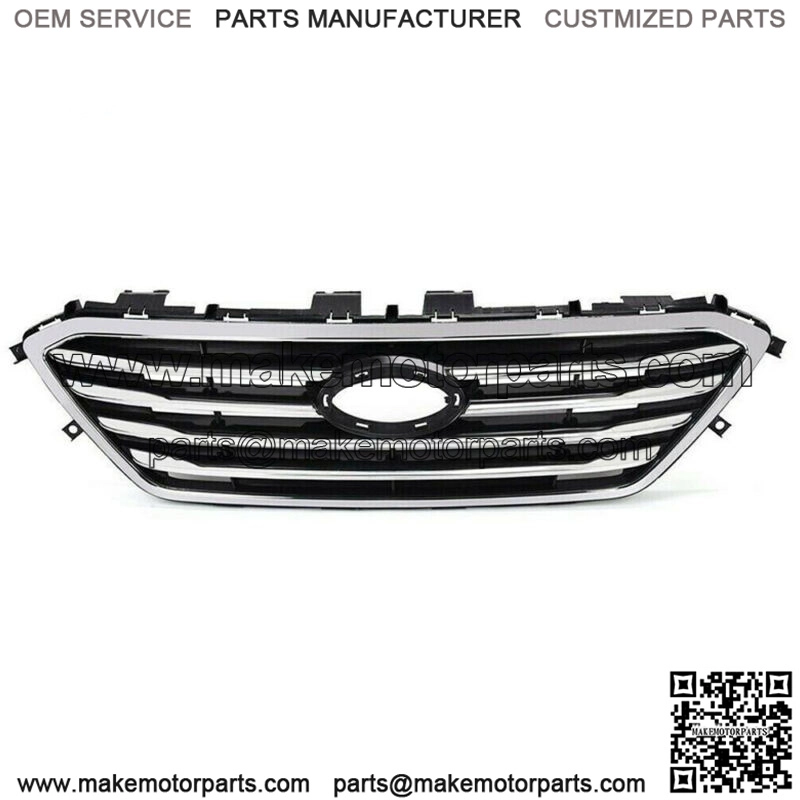
FitmentFor 2015-2017 Hyundai Sonata SE StandardDescription??Front Grille Grill-Color : Chrome Black-Position : Front Upper-Material :Abs Plastic /Polycarbonate Lens.Made From High Grade Oe Comparable Materials To Withstand Rough Road Wear And The Test Of Time.-Installation :Direct Bolt-On Replacement. No Modification Required. Product Does Not Come With Installation Instructions, Please Refer To A Shop/Factory Manual For Installation.Front Bumper CoverBumper Without Park Assist Sensor HolesReminder:-Take Extra Care When ing A Blade Or Knife To Open The Packaging To Avoid Accidentally Damaging The Surface Of Your Bumper Cover.- If You See Any Minor Scuffs, Don??T Worry??Your Bumper Cover Comes Pre-Primed For Protection And Should Be Scuffed Completely Before Applying Your Chosen Primer And Paint.-The Bumper Will Folded And Shipped.Package Include??1*Front Bumper Cover w/oSensor Hole1*Front Upper GrilleW/o Product InstructionReminder:(About the bumper)Outdoor Method:1. Find a spot that gets a lot of direct sunlight (it will need to be in the sun for up to 4 hours).2. Open the packaging and remove the bumper cover.3. Arrange the cardboard packaging to lie flat on the ground. This will serve as a clean surface for your bumper cover.4. Let the bumper cover sit in the sunlight for three hours.5. Once you hit the three-hour mark, reposition the bumper cover so that the front part is facing the floor. Leave it in this position for the remaining hour.Indoor Method:1.e the cardboard packaging as your work surface and place the bumper cover on top.2.Look for creased areas on the bumper cover. Apply heat to those areas with the heat gun.3.Avoid pointing the heat gun at one spot for too long, as excessive heat can distort or melt the plastic. Keep the gun moving to spread the heat evenly across the surface of the bumper cover.4.Once the last patch of creased plastic is straightened out, you can consider the bumper cover fully unfolded.
Related products
-
Golf Cart Parts
EZGO TXT Golf Cart Rear Bumper – 2000 and Newer
-
Golf Cart Parts
GE Motor Bumper – Club Car Golf Cart
