Introduction
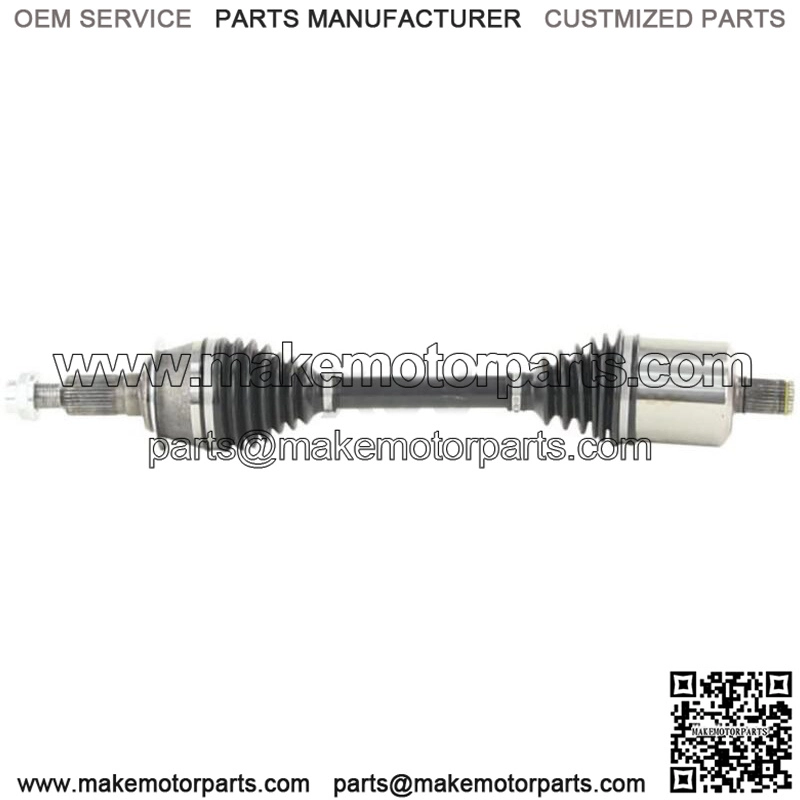
The CV axle joint shaft is a critical component in your Chevy Silverado 1500’s drivetrain, ensuring smooth power transfer from the transmission to the wheels. If you’re experiencing clicking noises, vibrations, or grease leaks, it might be time for a replacement. This guide will walk you through the professional installation process of the Front Left Driver CV Axle Joint Shaft for 2019-2020 Silverado 1500 models.
Why Choose Our CV Axle Joint Shaft?
-
OEM-compatible design for perfect fitment
-
Durable construction with high-grade steel and precision bearings
-
Tested for performance under extreme off-road and towing conditions
-
CE-certified for quality assurance
Installation Steps
-
Safety First – Lift the truck securely using a jack stand.
-
Remove the Wheel – Loosen the lug nuts and take off the front left wheel.
-
Disconnect the Hub Assembly – Remove the axle nut and separate the control arm.
-
Extract the Old CV Axle – Carefully pry out the worn axle from the differential.
-
Install the New CV Axle – Align and press the new axle into place.
-
Reassemble & Test – Reattach all components and check for smooth operation.
Pro Tip: Always inspect the CV boot for damage during replacement to prevent future failures.
Where to Buy?
🔗 Google Search: “Front Left Driver CV Axle Joint Shaft 2019-2020 Silverado 1500”
🔗 Amazon Listing
🔗 eBay Listing